 Bot Bench I'd Rather Be Building Robots
 Robomatter has released a new product called the Virtual Brick. They have re-engineered the Virtual NXT and added new functionality, new blocks, improved robot performance, as well as a new interface to make the Virtual Brick much easier to use with the EV3. The “Brick” part is because it now works with both LEGO bricks; the NXT and EV3.
What is the Virtual Brick?
It’s a piece of software that walks and talks like a real NXT/EV3 brick. When you start it up, it pretends to be a proper USB device, so as far as your programming software is concerned, there’s a real brick attached to the PC. You’ll even hear the standard “tudun” Windows sound you get when you plug in a physical device. That means that you don’t need to tweak or hack your programming software in any way. You can still use it to program real bricks, you just need to stop the Virtual Brick and connect a physical one.
There are a few limitations with using the Virtual Brick, rather than a real EV3. The LEGO EV3 software believes it’s got an NXT attached to it, so you cannot use things like:
- complex math block
- array operations
- medium motor block
Other than those, you should be fine for most things.
Getting started with Virtual Brick
If you want to dip your toes in the virtual water, but are not sure how to get up and running, fear not, help is at hand! I’ve made a small tutorial that will help you. Here’s what you’ll need:
- EV3 Programming software (Education Version) installed on your computer.
- The Virtual Brick software, which you can download here: [LINK]. You’ll need at least version 2.50.
- Administrator’s right on the computer, in other words, permission to install new software and drivers.
- The programs for this tutorial, which you can download as a single project here: [LINK].
Please note that if you are going to do this inside a Virtual Machine, that VirtualBox will not work, you’ll have to use VMware Workstation. The reason is that VirtualBox does not support 3D graphics acceleration, which is required for the 3D tables that your Virtual Robot will be running on. Take a look at this small article on how to make your mouse behave better in a Virtual Machine: [LINK].
You can find an excellent guide on how to install Virtual Brick here: [LINK].
Using the Virtual Brick
Now that Virtual Brick is installed on your system, it’s time to start playing with it. Before we get into the programming side of this tutorial, we need to ensure we’re using the right Virtual World and robot.
 |
 |
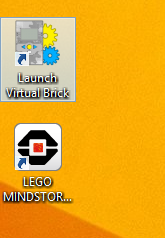
| Step 1: Click on the “Launch Virtual Brick” icon on your desktop. |
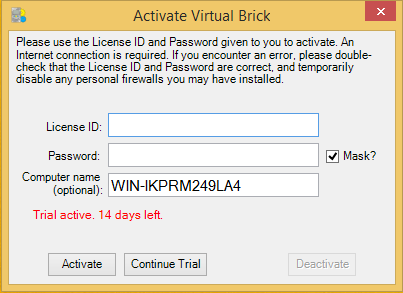
Step 3: Enter your license information and activate or click on “Continue Trial”. |
 |
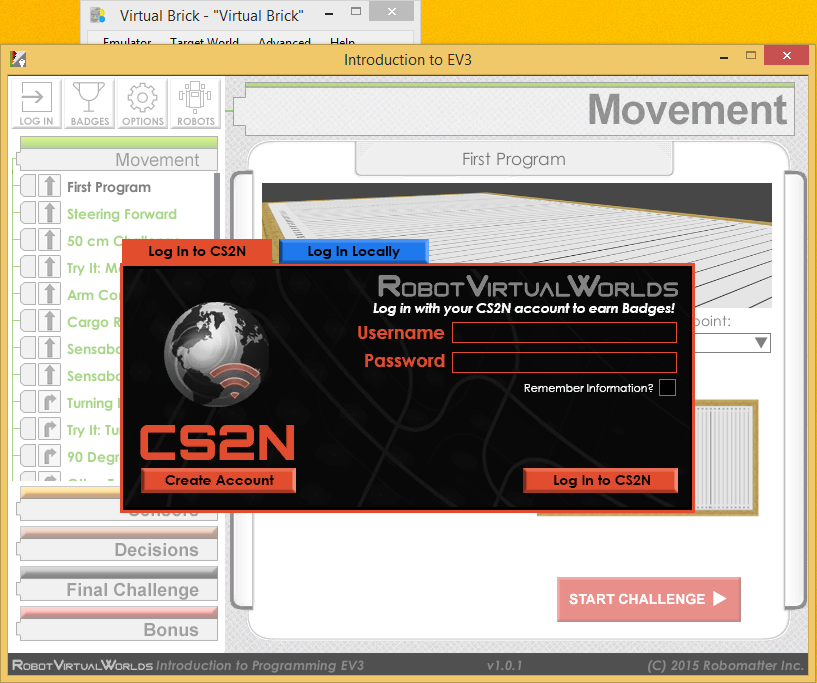 |
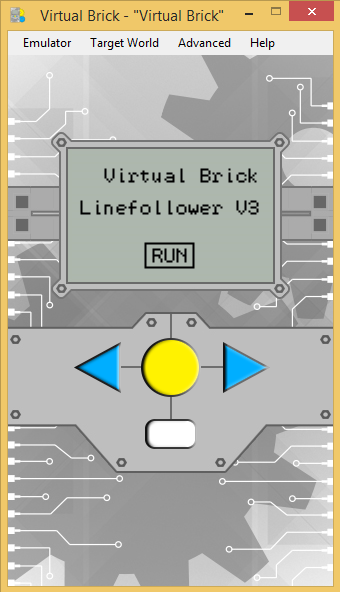
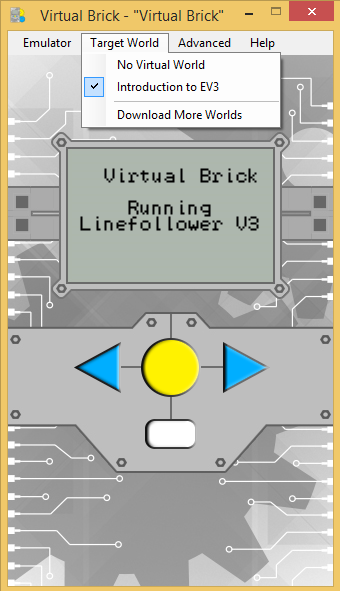
| Step 4: The Virtual Brick will start up, select “Introduction to EV3” from the “Target World” menu. |
Step 5: If you have CS2N credentials, enter them here or login locally with your own username and password, or as a guest. |
 |
 |
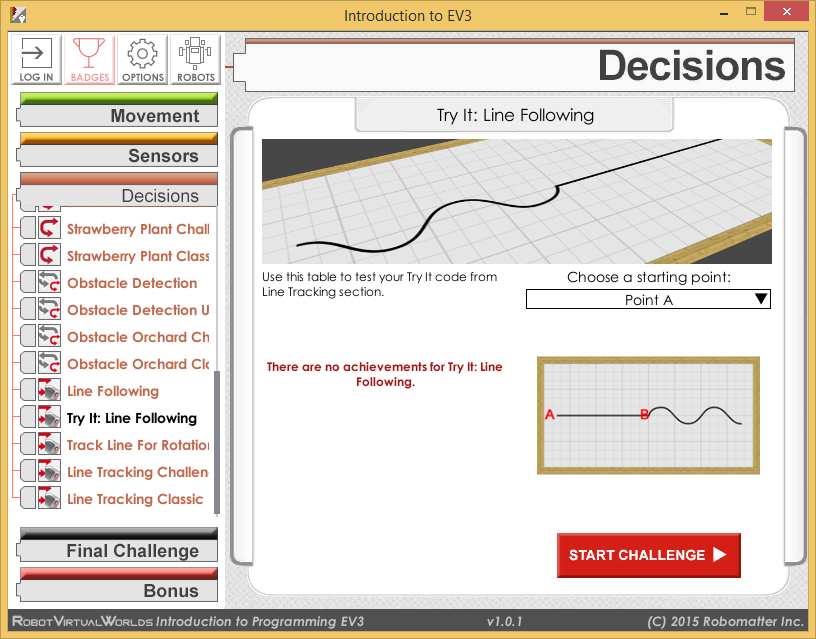
| Step 6: Select the “Try it: Line Following” table from the “Decisions” list. |
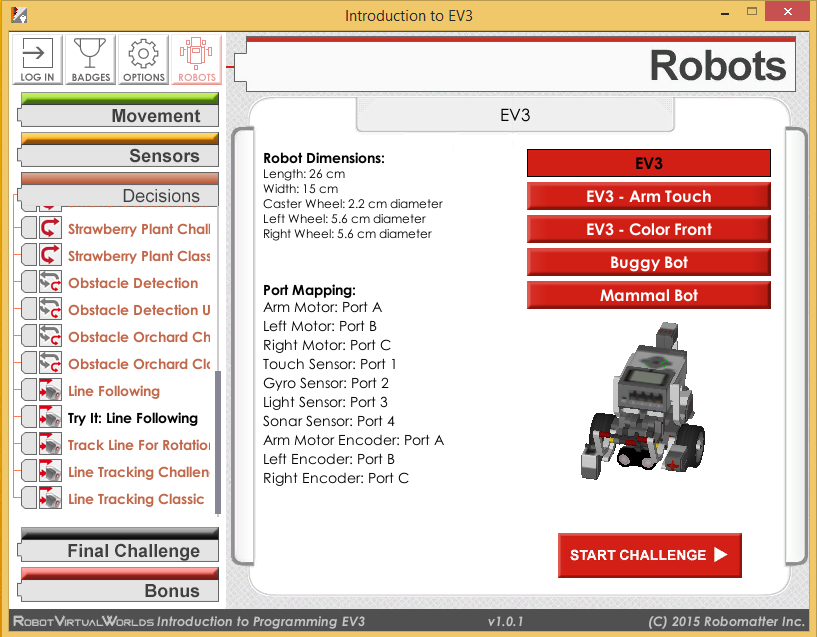
Step 7: Make sure the “EV3” robot is picked from the list of robots. The others have sensor configurations that won’t work as well with the line following table |
 |
 |
| Step 8: The table should come up and look like this. |
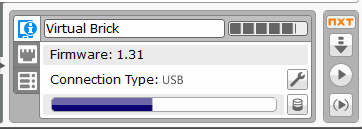
Step 9: Start up the EV3 software, open the Virtual Brick Line Follower.ev3 file and ensure that the above is displayed in the bottom left of the Window. |
Line Follower V1
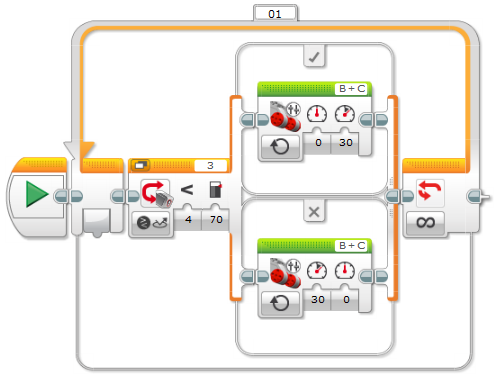
The first version of the line follower is a simple “wiggle” type line follower. In this program we simply look at the sensor’s reflected light value and say: if it’s less than 70, we pivot right, if it’s more than 70, we pivot left.
As you can imagine, this is not a very efficient method of following a line. Try and see how well it works for you. Click the Play button or the “Download and Run” button to start the program on the Virtual Brick. This is how it looked on my computer.
I had to speed it up 8x just make it watchable. Let’s see if we can’t do some experimenting with this simple line follower and find out how it behaves when we change some things.
- What happens when you change the motor speeds to 40 or even 50?
- What happens when you change the threshold value (70) in the Switch Block to 50, 60 or 80?
- What happens when the motor speed is set to 10?
Why do you think this happens?
Line Follower V2
The next line follower is a bit more complicated. The previous program was inefficient because there was no way for the robot to respond manner dependent on its position on the line. Say the robot was only slightly off to the left, should it respond with the same amount of motor speed as when it is no longer on the line at all? Of course not. This is called proportional response.
Examples of proportional response
Driving up to stop sign in a car, you slow down more, the closer you get. You don’t race towards it at 60 mph and slam on the brakes 10 yards before you get to the intersection. Not only would you probably not stop in time, but your tyres would be worn out in no time. Not to mention the fact that you could get into a very serious accident.

When you speak to people and they’re standing right next to you, do you shout at the top of your lungs or do you talk at a normal volume? Normally, the further away a person is, the louder you speak. Whispering to someone who is on the other side of a room may not get your message across.
Proportional response in a robot
So how would that translate into software? Take a look at the program below.

This program assumes that a sensor reading of 70 is the perfect amount, we call this value the Set Point, or SP for short. Determining this value is a little out of scope of this tutorial. The base motor speed is set to 30. The difference between the actual sensor reading and the SP, is called the error, also known as E. If we have an Error of 10 (the sensor is reading 80), we add this error to the base motor speed of the left motor and subtract it from the right. Conversely, if the error is -10, we’d subtract it from the left and add to the right.
Take a look at the video below and note the vast difference between this robot and the one in the previous video.
I only had to speed it up about 2x in the middle to make the video a bit shorter, So I am guessing it is able to move about 4x faster than V1. That’s quite an improvement, I’d say!
Maybe you’d like to play around with some of the values in the program to see what their effects are. Here are some experiments you could try:
- What happens when you change the base motor speed to 40 or even 50?
- What happens when you change the threshold value (70) to 50, 60 or 80?
Did you manage to make it go any faster than the standard V2? If you did, leave a comment with your values below!
Line Follower V3
Let’s see if we can turn this one up all the way to 11. If you tried the experiments with the previous version, you may have noticed that when you turned up the motor speeds, the robot quickly lost track of the line. That’s because the size of the error (E) was not large enough to compensate for the speed the robot was going at. It needed to be able to respond more quickly and with a larger amount. How can we achieve this? Take a look at the program below.
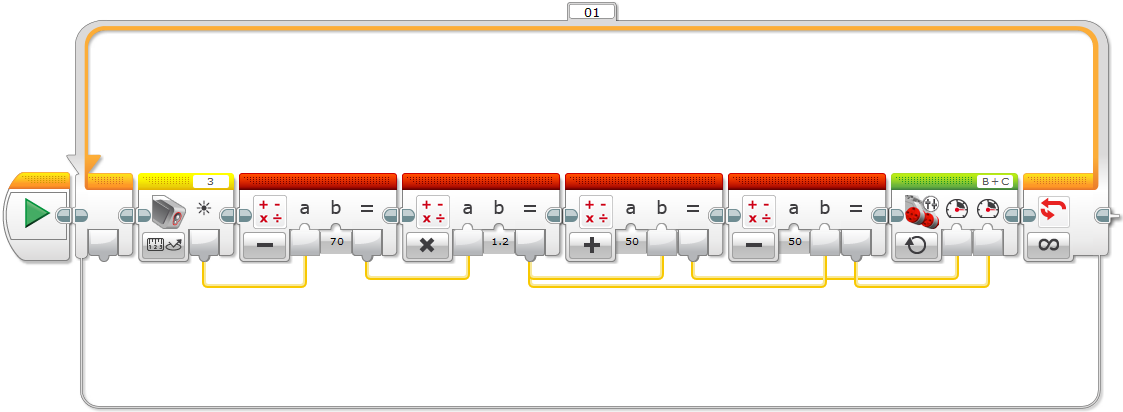
The error can now be manipulated and increased at will, using a multiplier. This particular multiplier is commonly referred to as P, for Proportional. There are two other common parameters, I (Integral) and D (Differential), but they’re outside the scope of this particular tutorial.
Curious about how much of a difference this simple multiplier makes? Take a look at the video:
I didn’t have to speed this video up at all. You may notice that the robot wobbles a little bit, that’s because the P factor is not quite fine tuned. Maybe you could have a go at it?
- What happens when you increase P to 1.3, 1.4, 1.5 or even 2? Try incrementing it with values of 0.05 or even smaller.
- What happens when you change the base motor speed to 60 or 70?
- What happens when you change the threshold value (70) to 50, 60 or 80?
Why do you think this happens? What is the fastest you can make this go? Experiment with various combinations. Think of it as tweaking a Formula-1 race car to win the Grand Prix! If you’d like, you can leave your values below in the comment section.
I’ll be adding a few more tutorials like this in the coming weeks. You’ll be able to learn more about using the Gyro sensor to make accurate turns!


[…] can find an example of what you can make with the Virtual Brick here. You can find out how to install Virtual Brick […]
Hi, Xander!
I really liked your robots and projects, nice! I have a question: I saw that you designed your own scenario for the line follower robot. Yesterdai I’ve tried the same, but apparently the tiles in the software comes with a white region around the black line that is not recognized as a white area. So, for the robot, all the surface of the tile has the same colour. How can I fix it?
Thanks,
Henrique Hamisch
I have not had that problem, but if you think this is a bug, you may want to drop a mail to support@robotc.net and explain to them what you tried. Perhaps a good idea would be to include the level you have created, the program you used to test with and whatever other information you can provide to help them track it down.
Hi, I am looking to buy virtual brick to use with the FLL team that I coach, but the site seems to have two different places to buy it. On link that you gave in this article, it shows that virtual brick costs $150 for a team/year, but if you click on the Purchase tab on the top of their webpage, it shows that the same thing only costs $25 dollars for a team/year. If you could let me know how much you paid for virtual brick, that would be great! Or if you could tell me the difference between the two! Thanks!
I am not sure what the differences are but I would suggest you send a quick mail to support@robotc.net and pop the question there. They’ll be happy to help you out with this!
Thanks!
I asked Robomatter the same question recently. The good news is that they are running a special (for an unspecified time) and that the lower price on the Purchase tab is the correct price. They didn’t explain why the other page was still showing an old price.
Nice posting! I’ve just started with the Virtual Brick to use at home to complement what my daughter is learning at school with physical Lego robots. I’m wondering how you came up with the number ’70’ in your example. With a physical robot, you can view the reflected light value on the robot and check it when placed over black or white objects to work out . With Virtual Brick, is there a way of doing the same? I can’t see anything obvious. Would appreciate a pointer in the right direction.
The virtual world the robot is in, can have ground plates with various colours and the sensor sees these just like it would in the real world. If you were to drive over a red line in the virtual world, your sensor, when in colour mode, would be able to tell that it is red.