 Bot Bench I'd Rather Be Building Robots
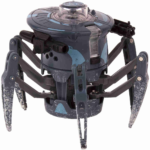
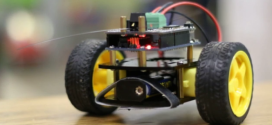
This is a project I’ve had on the shelf for quite some time (2 years or so), and only just now finished up. Ever since I saw these HEXBUG Battle Spiders, I’ve wanted to tear them apart and supply them with a more capable brain. These Battle Spiders are mechanically really interesting. All the 6 legs are powered with a single motors. Direction is changed by rotating the main body, using a second motor, which changes the disposition of the legs, changing the direction in which the entire robot moves.
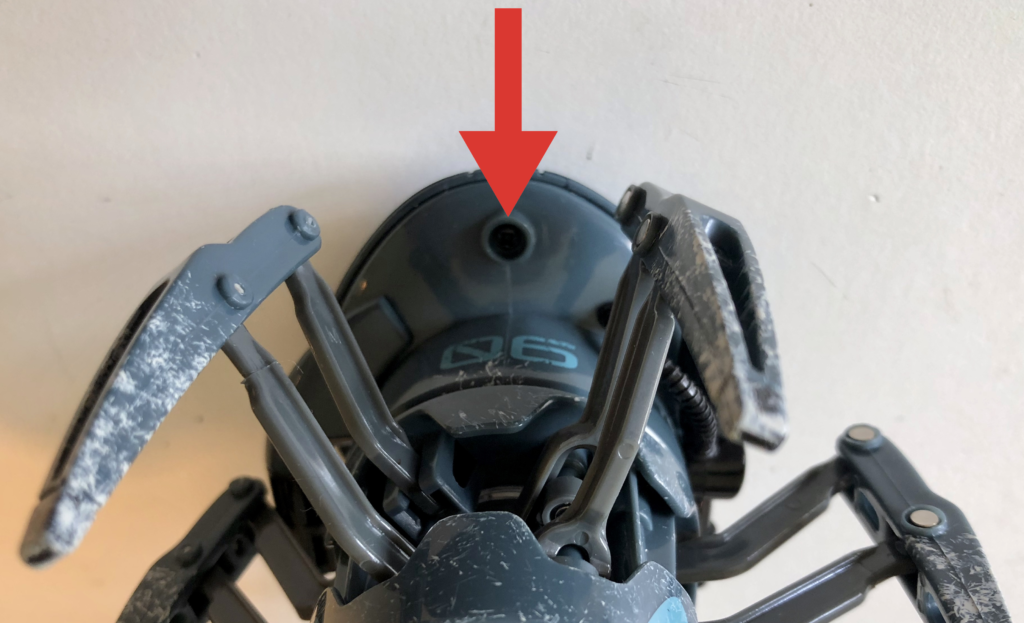
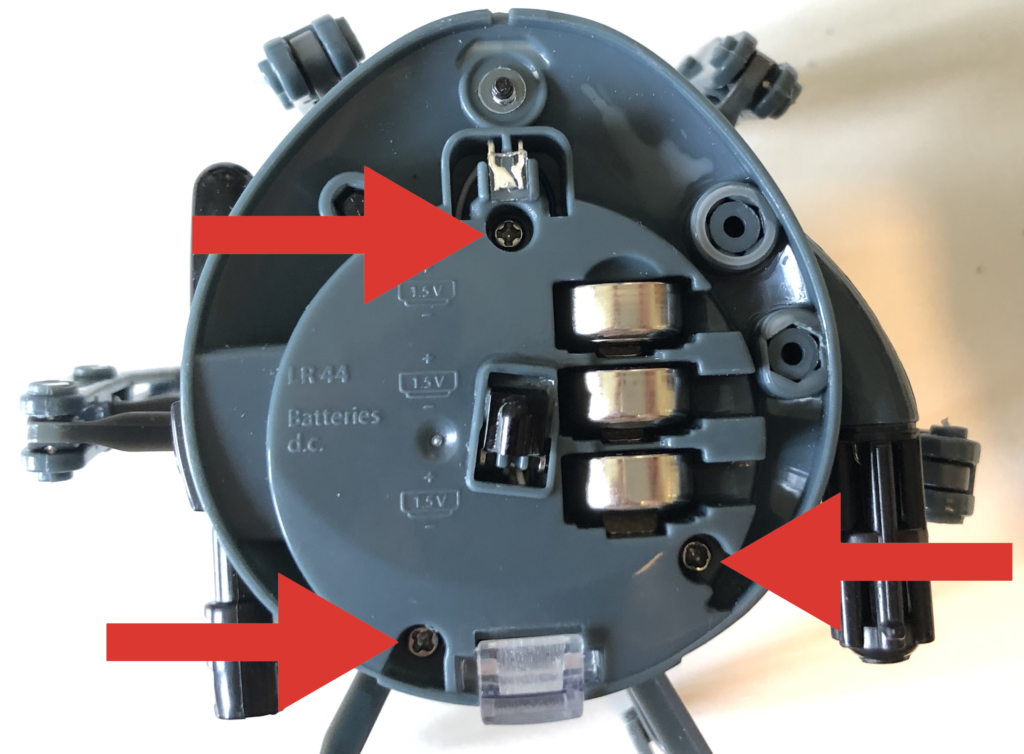
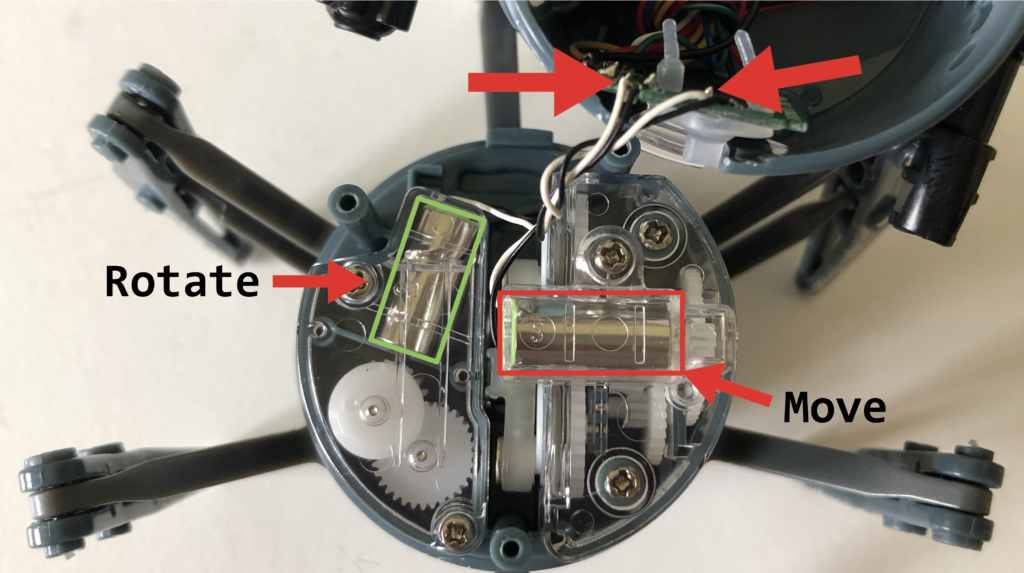
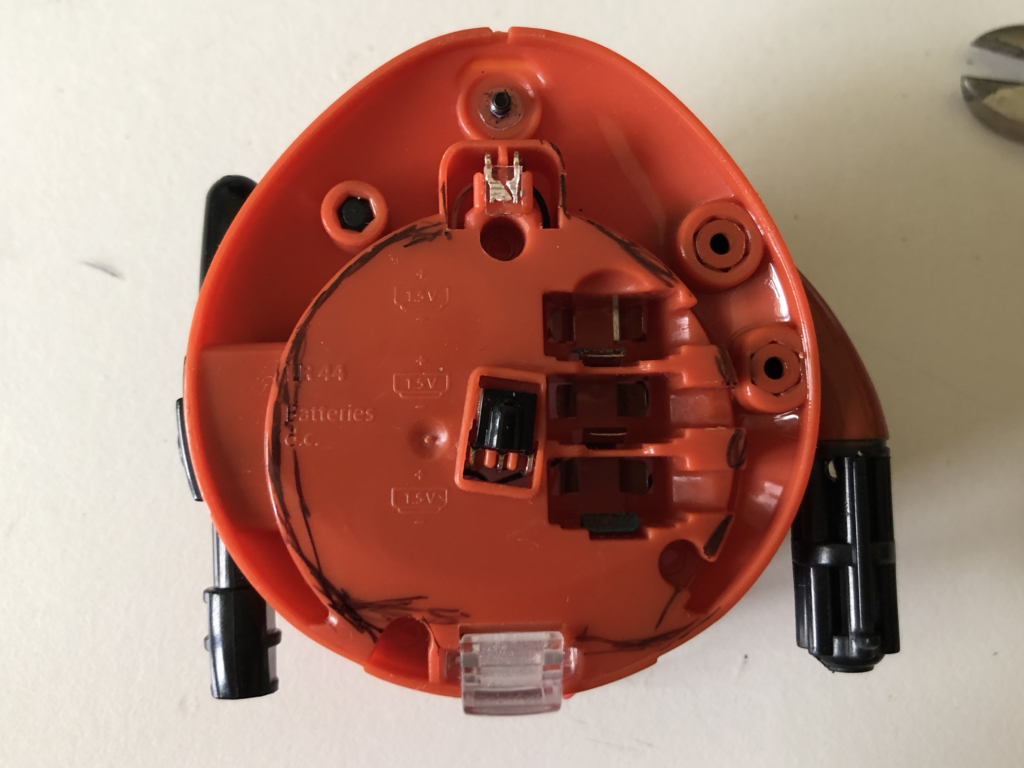
Taking the spider apart was easy. It takes a single screw to remove the lid, to get to the batteries and then another 3 to remove the top of the robot. The wires to the motors are attached to a small PCB, which you can see once you’ve opened it up. Desolder or cut them away from the board.
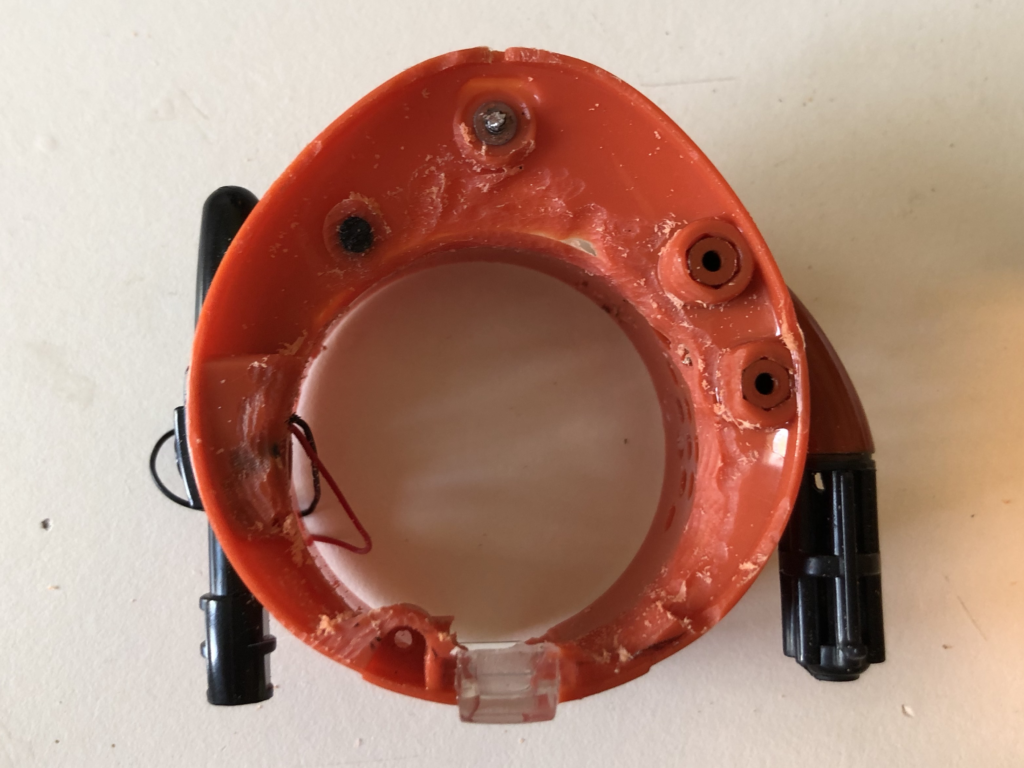
Next, go to town on the cover with a Dremel, removing all the excess plastic. I used a marker to draw out what I was going to cut. I am sure you could use a very sharp knife, but the plastic is pretty strong, so you may end up cutting your way into the hospital emergency department. I tried to save the wires of the doodad on the right-hand side, but failed and ended up cutting them off with the Dremel. I didn’t use the wires in my one, but perhaps it could be useful for something.
I would’ve loved to show you how I wired it up in steps, but this was all done 2 years ago and it didn’t occur to me then to make photos along the way. Using the code I wrote back then, and visual inspection of the finished product, I’ve made a drawing of how the different components are connected, using state of the art graphics software. I would download a copy, in case it ever becomes worth something, some day. Marvel at it, below.
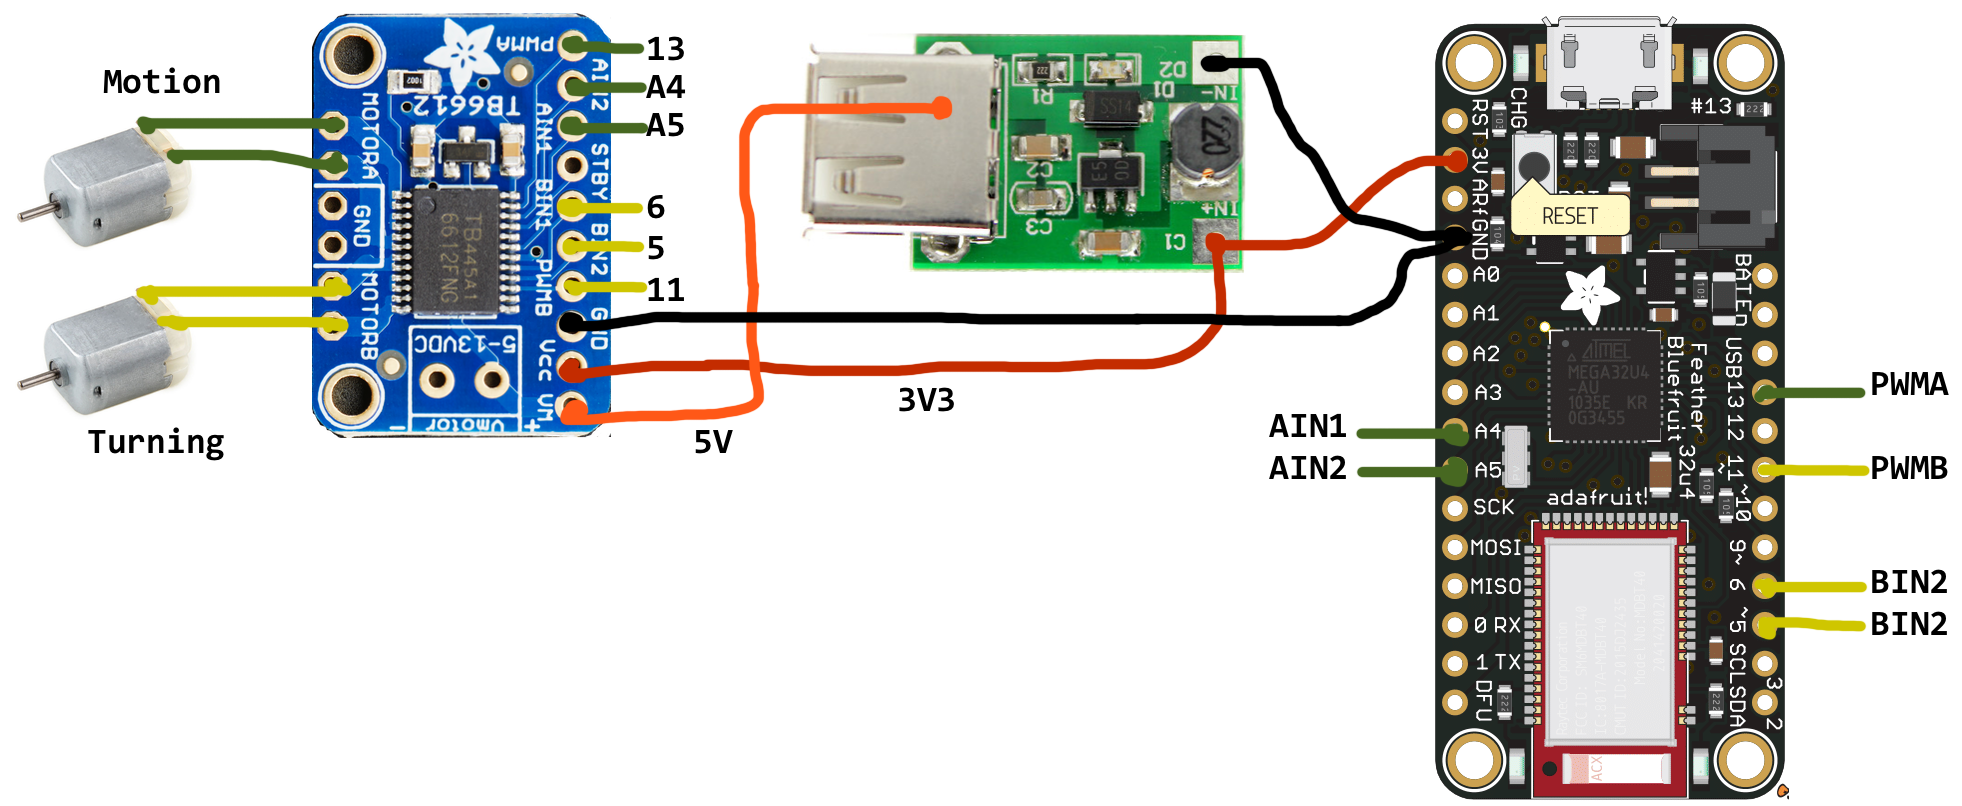
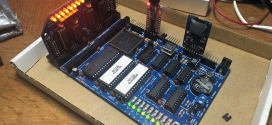
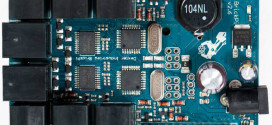
The components are pretty simple. An Adafruit Feather 32U4 Bluefruit LE, which is an Arduino compatible, BLE capable board. It’s super small, and the best part is that you can hook a LiPo battery up to it, with the ability to charge it through the USB connector on the board. There is no need to disconnect the battery, ever. I am also using an Adafruit TB6612 motor controller board. The thing in the middle of the awesome diagram is a DC-DC booster board, I got from Deal Extreme. Its function is to boost the 3V3 from the Bluefruit to about 5V, for the motors. Otherwise, they would be running way too slowly. I Dremeled the USB connect off it, to make it a bit more compact. Everything is powered by a 500mAh LiPo battery.
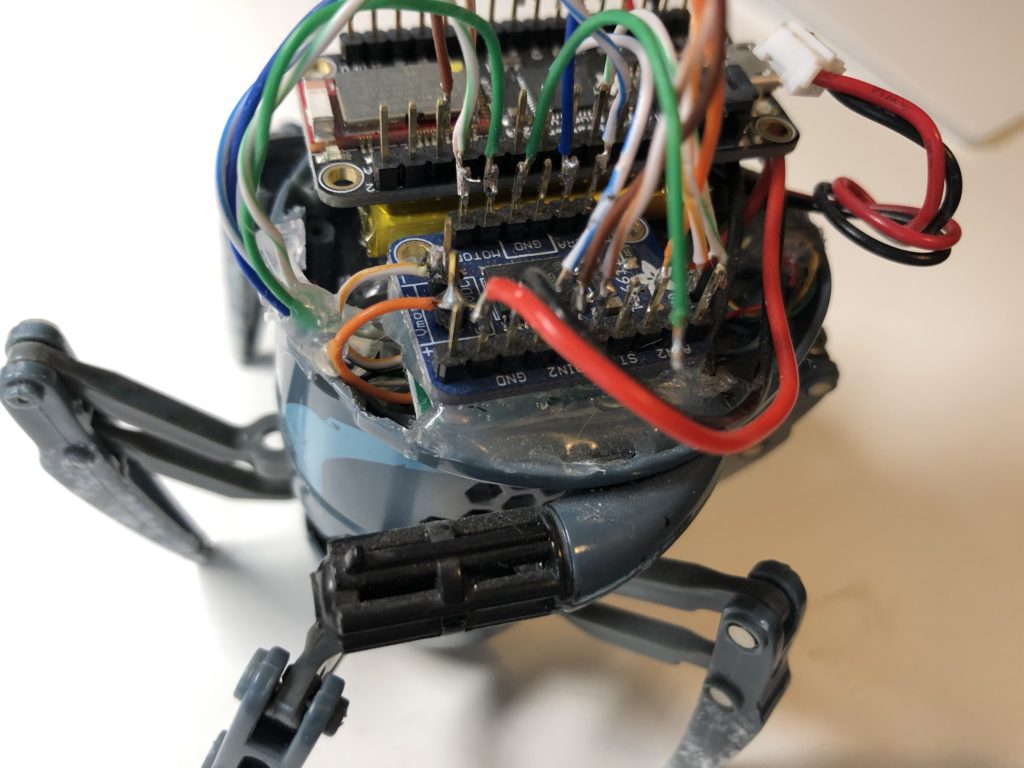
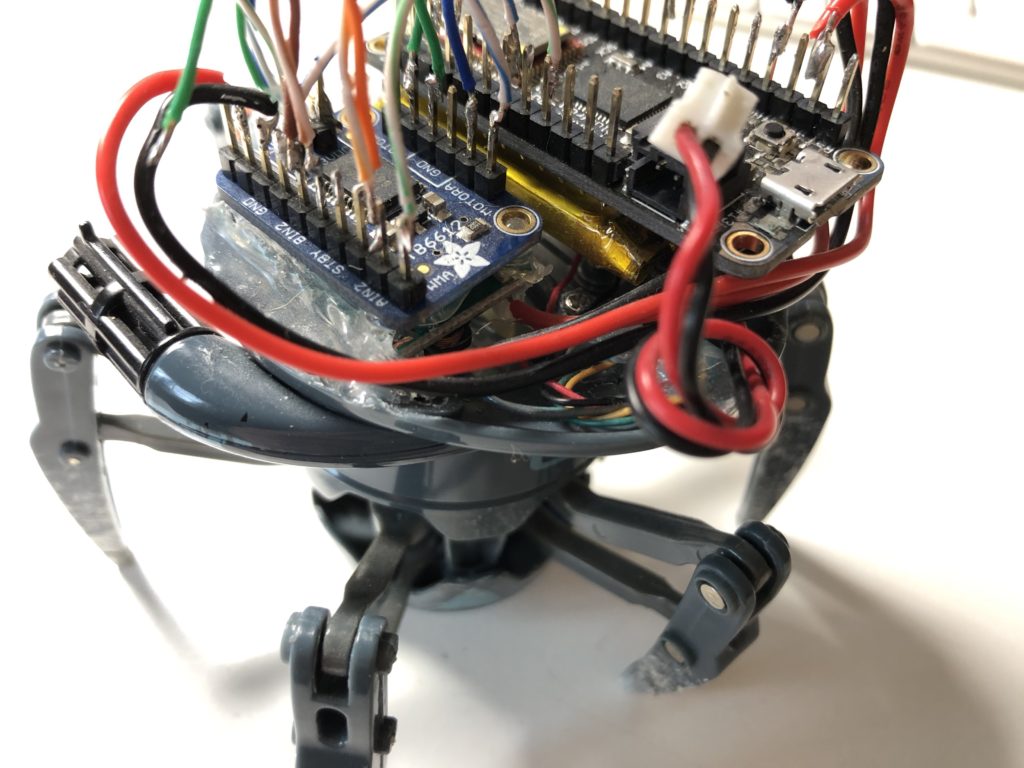
I used a copious amount of hot glue and double-sided tape to hold it all together. I think I probably would done it very differently now. Good thing I have another 3 spares sitting on my desk! (Thanks, Heather!)
The application to control the Battle Spider is made with Cordova, allowing it to be run on both Android and iOS, without too much hassle. I’ve used TypeScript as my main language because it just makes for much nicer looking code, rather than straight-up JavaScript.
/**
* Connect to the Battle Spider via BLE
* @param {string} deviceID the BLE ID of the Battle Spider
*/
function connectToBattleSpider ( deviceID: string )
{
    ble.autoConnect ( deviceID, ( data: BLECentralPlugin.PeripheralDataExtended ) =>  handleConnectedSpider ( data ), () => handleDisconnectedSpider() );
    bConnecting = true;
}

/**
* Disconnect from Battle Spider
*/
function disconnectFromBattleSpider()
{
    utils.debugLog ( "disconnectFromBattleSpider",  spiderDebug );

    ble.disconnect ( spiderDeviceID, () => handleDisconnectedSpider(), () => showError ( "Could not disconnect") );
}
The firmware is very simple. It listens for incoming commands and energises the motors accordingly. I’ve implemented a very coarse PWM, with only 5 levels: 0, 25, 50, 75 and 100%. Anything less than 25 can’t move the motors anyway.
/**
* Constantly poll for new command data
*/
void loop(void)
{
  // check if data is available, if so, process it
  if ( ble.available() )
  {
    byte c = ble.read();

    byte throttleSpeed = ( c & 0x0F ) >> 0;
    byte turningSpeed  = ( c & 0xF0 ) >> 4;

    int throttlePWM = serialToPWM ( throttleSpeed );
    int turningPWM = serialToPWM ( turningSpeed );

    doMotion ( throttlePWM );
    doTurn ( turningPWM );

    // Reset the timer
    startTime = millis();
  }
  else
  {
    // Get the current time
    unsigned long currentTime = millis();

    // Check if it's been more than 300ms since the last message,
    // if so, stop
    if ( ( currentTime - startTime ) > 300 )
    {
      doMotion ( 0 );
      doTurn ( 0 );
    }
  }
}
To build the app and firmware, clone the repository from Github. If you’re not familiar with Cordova, it’s not super complicated. I can only give quick instructions for how to do this on macOS, because that’s all I have.
Cordova installation instructions can be found here. You’ll need node and npm.
Clone the repository from Github
xander@xanders-mbp:~/git-repos $ git clone https://github.com/botbench/battleSpiderControl.git
Cloning into 'battleSpiderControl'...
remote: Enumerating objects: 80, done.
remote: Counting objects: 100% (80/80), done.
remote: Compressing objects: 100% (47/47), done.
remote: Total 80 (delta 23), reused 80 (delta 23), pack-reused 0
Unpacking objects: 100% (80/80), done.
xander@xanders-mbp:~/git-repos $
Run ‘cordova prepare’
Run the `cordova prepare` command in the freshly cloned repository. This will download all the node module and their dependencies, and setup the project files for Xcode and Android Studio.
xander@xanders-mbp:~/git-repos $ cd battleSpiderControl/
xandersoldaat@xanders-mbp:~/git-repos/battleSpiderControl $ cordova prepare
Discovered platform "android@^8.0.0" in config.xml or package.json. Adding it to the project
Using cordova-fetch for cordova-android@^8.0.0
Adding android project...
Creating Cordova project for the Android platform:
	Path: platforms/android
	Package: com.botbench.battleSpiderControl
	Name: battleSpiderControl
	Activity: MainActivity
	Android target: android-28
Subproject Path: CordovaLib
Subproject Path: app
Android project created with cordova-android@8.0.0
Discovered platform "ios@^5.0.0" in config.xml or package.json. Adding it to the project
Using cordova-fetch for cordova-ios@^5.0.0
Adding ios project...
Creating Cordova project for the iOS platform:
	Path: platforms/ios
	Package: com.botbench.battleSpiderControl
	Name: battleSpiderControl
iOS project created with cordova-ios@5.0.0
Discovered saved plugin "cordova-plugin-whitelist". Adding it to the project
Installing "cordova-plugin-whitelist" for android

               This plugin is only applicable for versions of cordova-android greater than 4.0. If you have a previous platform version, you do *not* need this plugin since the whitelist will be built in.

Installing "cordova-plugin-whitelist" for ios
Discovered saved plugin "cordova-plugin-ble-central". Adding it to the project
Installing "cordova-plugin-ble-central" for android
Installing "cordova-plugin-compat" for android
Plugin doesn't support this project's cordova-android version. cordova-android: 8.0.0, failed version requirement:
      <6.3.0
Skipping 'cordova-plugin-compat' for android
Installing "cordova-plugin-ble-central" for ios
Plugin dependency "cordova-plugin-compat@1.2.0" already fetched, using that version.
Installing "cordova-plugin-compat" for ios
xander@xanders-mbp:~/git-repos/battleSpiderControl $
Open the Project in Xcode
If you’re not interested in running this on an iPhone or iPod, then you can skip this section.
Make sure to use the latest version of Xcode, as I’ve not tested this with anything else. You will also need an Apple ID to do this.
xander@xanders-mbp:~/git-repos/battleSpiderControl $ open platforms/ios/battleSpiderControl.xcodeproj
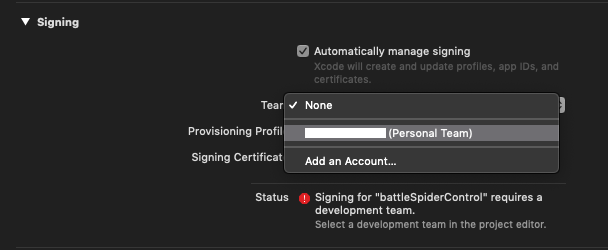
xandersoldaat@xanders-mbp:~/git-repos/battleSpiderControl $ Xcode will appear as if by magic, with the project open. When you build it, it will moan about not having anything to sign with. Open the settings by clicking on the “battleSpiderControl” item in the left-most tree control, and select the Apple ID from the list of Provisioning Profiles.
If you don’t already have an Apple ID configured in Xcode yet, you can do so now. It will allow you to deploy to your own device, not the App Store. Connect your phone, and select it from the list. In my case, it’s an iPhone 8.
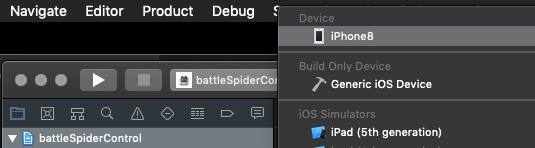
Now, click on the “play” button to build and deploy to your phone. Please note that this app will not run properly in the emulator.
Open project in Android Studio
If you’re not building for Android, you can skip this section.
Open the `platforms/android` project folder in Android Studio. It will probably prompt you to update cradle and a bunch of other stuff, just say “OK” or “Update” to it all. During the cradle process, it will give you errors, like the ones below. Click on them to do the refactor to fix and rebuild. Everything should be fine thereafter. You can ignore the warnings about deprecated options.
ERROR: The minSdk version should not be declared in the android manifest file. You can move the version from the manifest to the defaultConfig in the build.gradle file.
Move minSdkVersion to build files and sync project
Affected Modules: CordovaLib, app


WARNING: The targetSdk version should not be declared in the android manifest file. You can move the version from the manifest to the defaultConfig in the build.gradle file.
Move targetSdkVersion to build file and sync project
Affected Modules: app
Connect your phone and click the “play” (run app) button in the top button bar. This will start adb, if it’s not already running, and present you with a list of connected devices and available virtual devices.
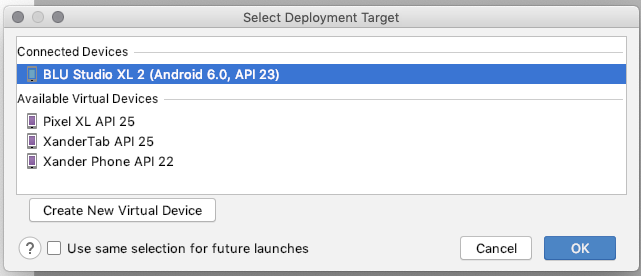
Click on the Connected Device of your choice. Please note that this app will not run on a virtual device. The app should, if all goes well, be installed and run on your device.
Building the firmware
The firmware can be built in the Arduino programming environment. To be able to build it, you’ll need to get all the supporting files for the Adafruit Feather 32U4 Bluefruit LE. Instructions on what to do, can be found here.
Hook up the robot to your computer, build the firmware in the Arduino IDE and upload to the Bluefruit board.
Connecting from the App to the Battle Spider
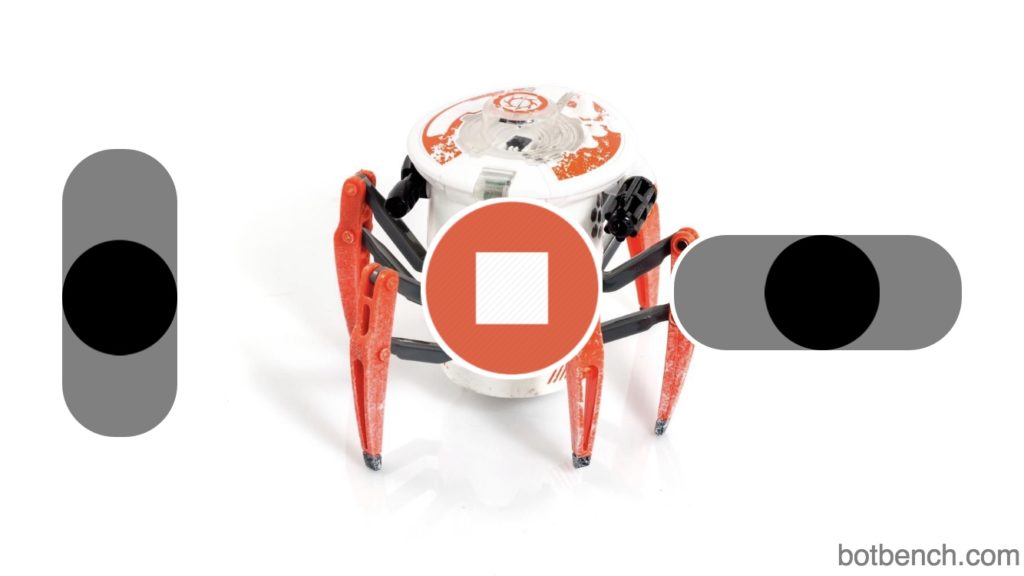
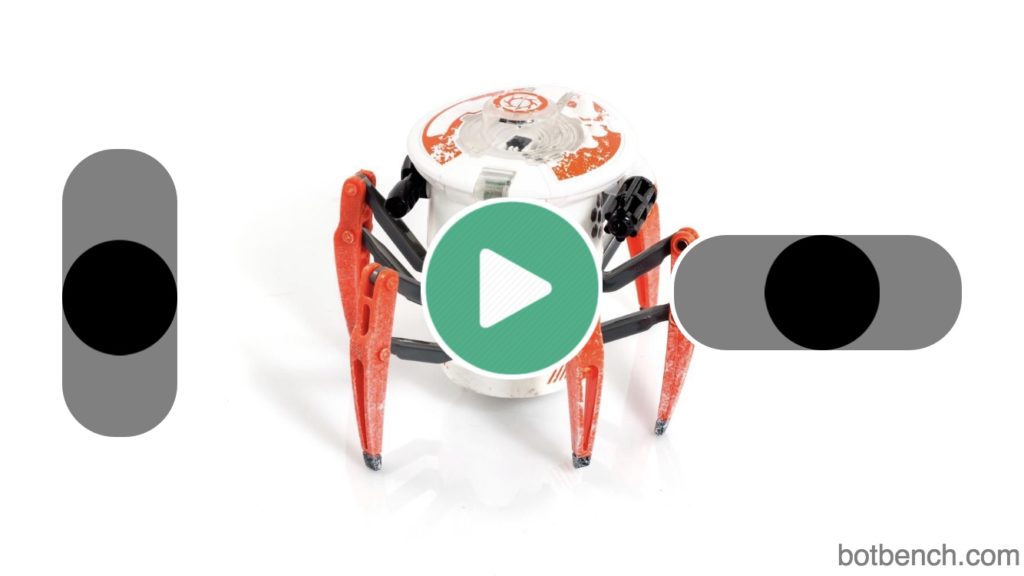
To connect to the Battle Spider, just tap on the big green “Play” button. It will pulse while it searches and then turn into a big red “STOP” button. You can tap that to disconnect. The left slider controls the forwards and reverse motion of the robot and the right slider makes the body turn left or right. If you are having trouble connecting to the robot, check that BLE is enabled on your device and that your robot is switched on.
Future versions may include a Raspberry Pi Zero W with front-mounted camera. I have all the parts for that already.